Scrabble pieces added to a spring
wreath announce the theme of the party

We put touches of 'baby' all around the areas that guests
would mingle

Baby blocks spell out the theme. Frames filled with baby pictures of the
mom and dad-to-be made this party perfectly personalized.

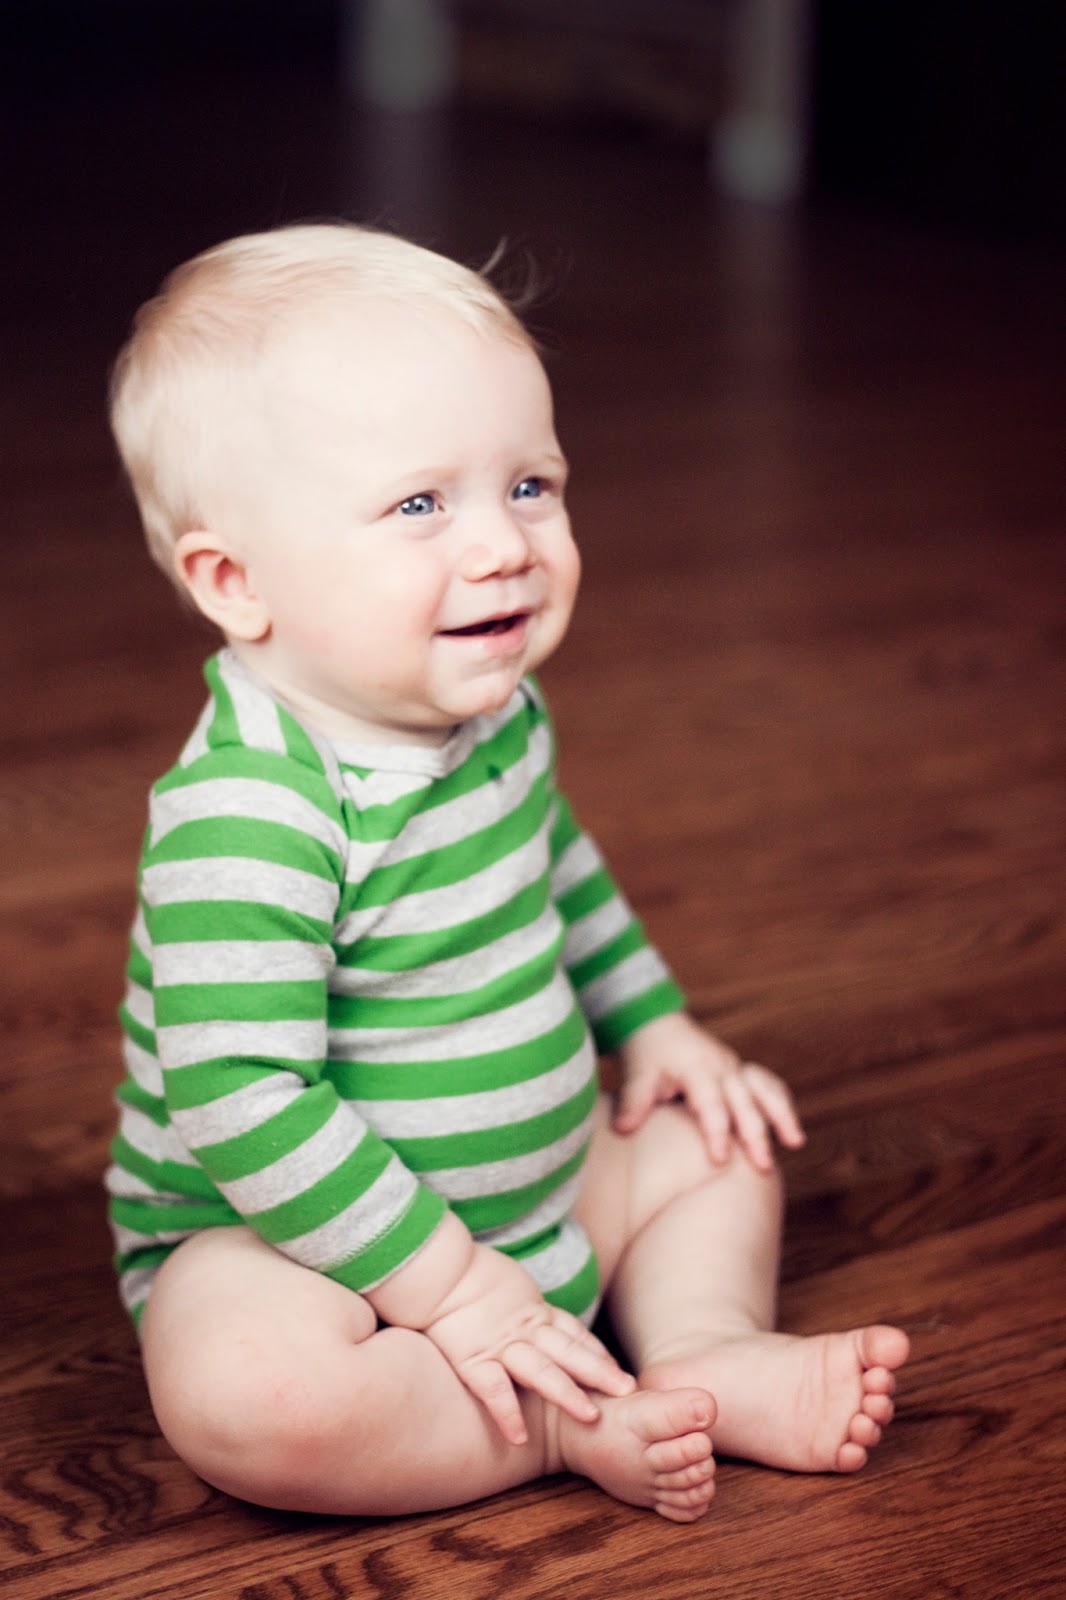
It's sweet to imagine what baby might look like
editor's note: I am a blog fail...the baby is way born and SHE IS WAY CUTE.

Vintage baby clothes that once hung above my daughter's bed,
were strung on twine and clipped with small clothespins.

My sweet Logi wanted to add to the festivities

Paper pinwheels and flowers. Very simple,
DIY, decorations for this celebration.
Here's how I made the pinwheels:

I had a lot of scrapbook paper sitting around.
I do not imagine I could scrapbook to save my life,
but I do love the color options and use the paper often.
When I started thinking about decorations for this party, I
decided I could probably use the same technique
I use to make puff pastry pinwheels, out of craft paper.

I only had single sided paper paper on hand.
I would imagine (but don't quote me) that
one can purchase these squares of paper
with patterns on both sides.
Since I was working with paper on hand,
I used a glue stick to glue the backs of
2 pieces of decorative paper together.
I mixed and matched the papers looking
for funky contrast.
After the glue fully set I cut from the 4 corners
of the paper square leaving about the size of
a half dollar coin in the middle. The square
turned into 4 triangles of paper, attached at the center.

I put a dot of hot glue in the center and quickly
folded the right side of each triangle to the center.

How cute are they!! So fun and funky and
OH SO EASY!!! To cover up the gluey mess
I used random buttons, and an additional dot
of hot glue to secure the button.
How adorable would these be hanging in
a nursery?

I used a paper punch in one corner of one of the
protruding triangles, then used fish line to hang
them above the dining table and outside on the
porch to help welcome guests to the celebration.

DIY floral arrangements. Use what is seasonal, and
just pop them in jars or buckets you have on hand.

Spray roses in spring neutrals and button mums were my go-to
favorite all spring, so it was a no brainer for this party. I placed
them in a vintage milk bottle crate.

The mom-to-be opening presents. Her sweet
mom (and a couple of aunties were able to fly in
for the celebration)

Mom-to-be with her mama.

I bought this felt banner in the $3 bin at Target. It was just the felt
letters on ribbon, so I dolled it up and with little rounds of burlap and fabric
(a few layers, held together with a decorative brad).
I then glued the circles on the store bought banner.

We of course threw it down with the delcious
spread of food. I will blog that at a later date...
goal: before baby turns 1
xo