Showing posts with label party. Show all posts

Sunday, October 23, 2016

DIY Baby Shower

My sweet friend and neighbor was pregnant with her first baby, so two of her dear friends and I decided to throw a bash to celebrate her and the soon-to-be baby!

Scrabble pieces added to a spring
wreath announce the theme of the party


We put touches of 'baby' all around the areas that guests 
would mingle

 Baby blocks spell out the theme.  Frames filled with baby pictures of the
mom and dad-to-be made this party perfectly personalized.

  It's sweet to imagine what baby might look like

editor's note: I am a blog fail...the baby is way born and SHE IS WAY CUTE.

Vintage baby clothes that once hung above my daughter's bed,
were strung on twine and clipped with small clothespins.

 My sweet Logi wanted to add to the festivities

 Paper pinwheels and flowers.  Very simple,
DIY, decorations for this celebration.

Here's how I made the pinwheels:

I had a lot of scrapbook paper sitting around.
I do not imagine I could scrapbook to save my life, 
but I do love the color options and use the paper often.

When I started thinking about decorations for this party, I 
decided I could probably use the same technique 
I use to make puff pastry pinwheels, out of craft paper.   

 I only had single sided paper paper on hand.
I would imagine (but don't quote me) that
one can purchase these squares of paper
with patterns on both sides.

Since I was working with paper on hand,
I used a glue stick to glue the backs of 
2 pieces of decorative paper together.
I mixed and matched the papers looking
for funky contrast.  

After the glue fully set I cut from the 4 corners
of the paper square leaving about the size of
a half dollar coin in the middle.  The square
turned into 4 triangles of paper, attached at the center. 


I put a dot of hot glue in the center and quickly
folded the right side of each triangle to the center.

How cute are they!! So fun and funky and
OH SO EASY!!!  To cover up the gluey mess
I used random buttons, and an additional dot
of hot glue to secure the button.
 
How adorable would these be hanging in
a nursery?


 I used a paper punch in one corner of one of the
protruding triangles, then used fish line to hang
them above the dining table and outside on the
porch to help welcome guests to the celebration.

 DIY floral arrangements.  Use what is seasonal, and
just pop them in jars or buckets you have on hand.

Spray roses in spring neutrals and button mums were my go-to 
favorite all spring, so it was a no brainer for this party.  I placed
them in a vintage milk bottle crate.

 The mom-to-be opening presents.  Her sweet
mom (and a couple of aunties were able to fly in
for the celebration)
 
Mom-to-be with her mama.

 I bought this felt banner in the $3 bin at Target.  It was just the felt 
letters on ribbon, so I dolled it up and with little rounds of burlap and fabric 
(a few layers, held together with a decorative brad).  
I then glued the circles on the store bought banner.

 We of course threw it down with the delcious
spread of food.  I will blog that at a later date...

goal: before baby turns 1

 xo


Friday, April 22, 2016

South of the Boarder Smothered Corn on the Cob

I can't even!  This is absolutely the tasty thing ever, and here's the
recipe just in time for your Cinco de Mayo celebrations 
and backyard picnics and cookouts. 

What you need:
cooked corn on the cob, set to room temperature (make in advance, chill)
Hellman's mayonnaise 
chipotle chili powder (sub chili powder, if you want flavor but no heat)
queso fresco (a chunk that can crumble)

On a prep surface, crumble queso fresco.

Mix the mayonnaise with the chipotle chili powder (make it
as spicy as you want.  I did 1/4 cup mayonnaise to 1 & 1/2 tsp powder)

Spread the mayonnaise onto the cooled corn (1-2 Tablespoons),
covering the surface.  Then roll in the crumbled cheese. 

Messy, but worth it. 

Seriously, this is ridiculous!  The sweet of the corn balances so 
nicely with the tang and spice of the chipotle mayonnaise and
the crumble cheese coating brings it all together!

xo.

Friday, January 22, 2016

Flavor Filled Cream Cheese & Bagels

Bagels and delicious, flavor-filled cream cheese give me a 
bad case of nostalgia.  Maybe it's because they were all
the rage in the 90s, with shops popping up everywhere in the
midwest? Maybe it's because I worked a stint at a bagel
shop in college? Whatever it is, I love kicking it old school
(ugh, the 90s officially feel old school as plaid has officially
come back around) and toasting up chewy bagels and
slathering them with cream cheese.  Here are two 
quick and simple recipes for flavor-filled cream
cheeses to whip up.  

One sweet and One savory, so I gotcha covered.
8 oz container of whipped cream cheese
1/2 tsp ground cinnamon
1/4 cup honey
pinch of salt

Blend with a spoon to fully incorporate all the flavors
Starting with whipped cream cheese prevents you from 
having to get out the food processor.  Score!

the addition of chopped, lightly toasted
pecans would be delicous, FYI

8 oz container of whipped cream cheese
1/4 cup chopped scallions (chop up into the greens)
1/4 cup chopped sweet peppers (I love the mixed
bag of sweet yellows and red baby peppers)
salt & cracked black pepper, to taste

Blend with a spoon to fully incorporate all the flavors.

 Enjoy.  

I pop the flavored cream cheeses back in the container
the whipped cream cheese arrived in, and the spreads are 
good and ready to go!

Slather on, my bagel loving friends. 
xo


Tuesday, December 8, 2015

Maple & Bacon Spiced Almonds


I always make spicy candied almonds (or pecans) for salads,
but the addition of bacon...oh my!!!  I just know you will 
love this one!

What you need:
2 1/2 cups raw almonds
1/2 cup pure maple syrup
1/4 tsp cayenne pepper
5 strips of  center cut bacon, chopped up
Generous cracks of sea salt
Use kitchen shears to rough cut 5 strips of bacon and place in
a pan over medium/high heat.  

Separately:  preheat oven to 325

 Brown the bacon bits thoroughly, then remove the bacon 
from the pan. Center cut bacon does not render much fat
so there will be about a tablspoon of bacon fat in the pan. 
Leave it in the pan.  

IF YOU ARE USING LEFTOVER BACON FOR THIS
RECIPE, ADD 1 T. OF BUTTER TO THE HOT PAN AND 
CARRY ON WITH THE RECIPE.

Add the raw almonds and maple syrup to the bacon fat, in the
pan over medium/high heat.

Stir and coat.  Allow the maple syrup to bubble and reduce, 
while stirring constantly for 5 minutes.

After 5 minutes, all of the almonds should be coated in thick
maple syrup reduction. 

Turn off heat and return the bacon bits to the pan, along with
cayenne pepper (if you want a bigger kick, add more), and
a very generous dusting of sea salt. Stir to incorporate.

Pour the mixture onto a parchment paper lined sheet tray and
spread the almonds and bacon out into a single layer
Place the sheet tray in the preheated oven and cook for 7-9 minutes.

Remove pan from the oven and allow the coated almonds 15-20 
minutes to cool.  Then, try not eating them all.
 
Allow to cool completely, at least 1 hour before packaging up.

I am packaging up the almonds to give as gifts.  
This time of year you can find adorable containers in every store, 
otherwise, store the almonds in a sealed container or bag at room temperature.

Enjoy!
xo

Sunday, August 24, 2014

Logi's 5th Birthday Party!!!!!


Let me start by saying I am so excited I get to share these photos, as we thought we would never recover the photos from the camera!  Long and boring story, but the end results of photo recovery were pure victory!

My sweet baby girl turned 5 this month and she wanted to have a party in the park behind our house.  Her only requests were sports, face paint, pinata, tie dye and cheese balls.  Such easy requests to fulfill!!!

All about the goodies!  Vanilla cupcakes topped with 
my no fail frosting and strawberry hats joined a heaping 
pile of rice crispy treats, sea salt chocolate chip cookies a few
 other goodies ready for the little and big kids!

A bowl of cuties certainly balances out the load
of cakes and candies!

 Cheese balls!  They were a must on Logi's short 
list of requests.  The bowl they are sitting in is the large
bowl in a set of 4 melamine nesting bowls (with lids!)
that I picked up at Costco.  They have a lovely, vintage
look to them, with all the practicality of melamine!
 
My past life in event planning and catering always 
comes through on the treats table!!

I topped the chocolate cupcakes with m&m candies,
logo side down.  Logi really wanted 'tie dye' at her 
'sports party' so I tried to pull in color, wherever 
I could.  This was a quick and cute way to doll
up the cupcakes (and distinguish them from the 
vanilla cupcakes.)

Side note: the polka dot cake stand was a gift I
received from the sweet woman from Zac's office
in Oklahoma, who planned a baby shower for us when 
I was pregnant with Logi. Extra special to pull out on this day!

Even though we were gathering in the park, I wanted
to elevate the feel of the party (let's be real, I could have 
just opened a few bags of chips...).  Popping goodies into/onto
bowls and platters instantly kicks it up a notch.  Creating 
a table with dimension is quick and easy, if you have a couple
white table clothes (or white flat bed sheets) on hand.
Place sturdy boxes under the cloth and allow the folds
of the cloth to build a base (table with varying heights)
to then add in bowls, platters, cake stands, vessels, etc.

It is oh so easy, just takes a bit of planning...give it a whirl for your
next shindig.  Whether you are hosting in your home or in the park.
 
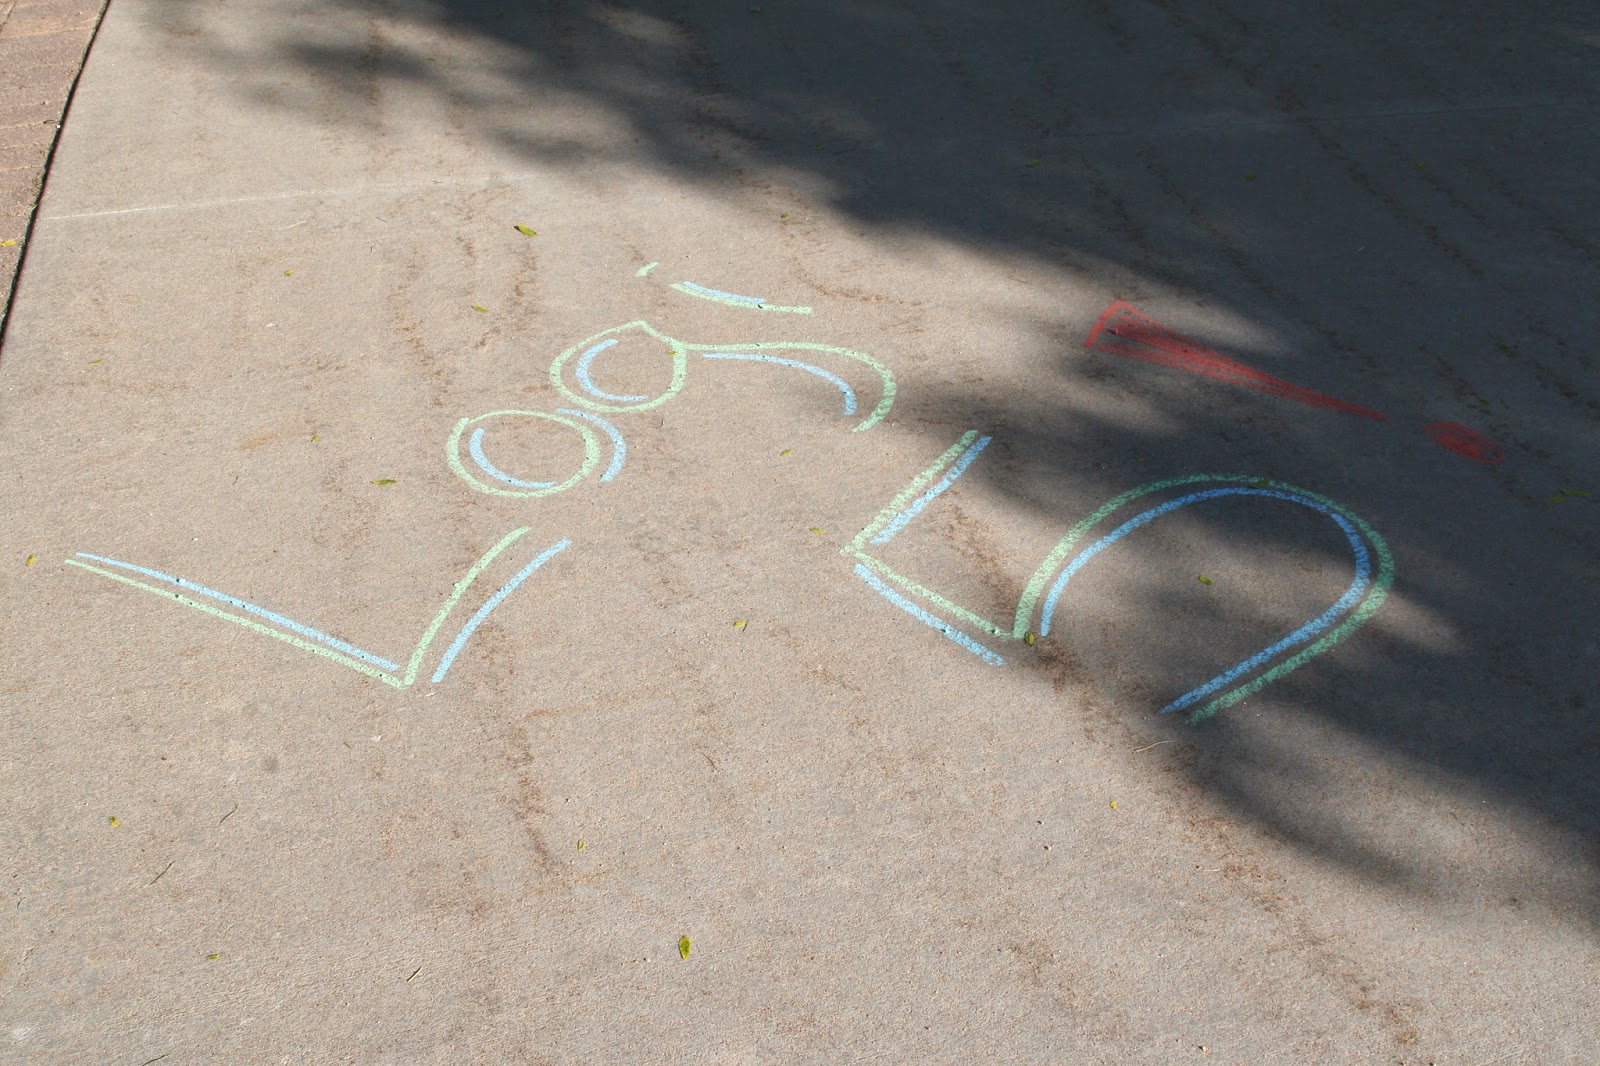
 I placed piles of sidewalk chalk around, but wrote up a big
reminder of why we were all gathering!  Can time slow down,
please.  Just looking at this makes me tear up!

 The sweet little birthday girl!  Tie dye on tie dye works, 
when that is the theme...our sweet babysitter made her the 
"birthday crown" out of pipe cleaners.  My sweet Logan is so kind, 
happy, funny, active and loving. Her personality is one of the 
best I have ever been blessed to know.

 Before friends arrived Logi took some imaginary
swings at the pinata, while Benny sat in the chalk.

I was quite surprised that Logi picked the Hello
Kitty pinata, as it really isn't her thing...until she
explained that it was the biggest and could hold
the most candy.  Clever girl. 

Sweet Benny!  I could just gobble him up!  I realized, long after
the party wrapped, that he was shoved into a 6/12 month shirt. 
Poor buddy looked a hot mess most of the evening.  

Kathy and her grand daughter Mady, of Jester's Entertainment.  They
are always at the Golden Farmer's Market and Logi was so excited
to have them be a part of her party.  They are incredible.  Kathy does
airbrush art on the kids, which is ridiculously amazing!  Check them out!

Logi has the hardest time deciding what to get, when we are at the
farmer's market.  Good thing she got to pick a few, at the party!

A sparkly car!  How amazing is that!  Kathy cuts all the stencils.


How cute is this! 

Pure happiness!

 Real snakes = no good.
Balloon snakes = nearly the cutest.

 In lieu of presents, we asked friends to please bring donations for
the Golden Backpack Program.  I was thrilled with the amount of
donations collected for this wonderful organization!

Goodness, I love her!

Her buddy, who is teaching her how to skateboard...she adores him.

 Sister Sister!  Two of my favorite little kids and such
sweet friends to Logan.

 These two sugars melt my heart!  Second generation friends!

Like a postcard!  You can't fake that excitement!

These to did preschool and preK together.  Total partners in crime!

It isn't a party until bags of beans are tossed!

 Pregame excitement!  I have never seen such a big pile of crazy,
over a pinata!  Crazy...but oh so cute.

 Benny.  Delivering the heat!

Bringing the heat!


Well folks, that's a wrap on Logi's 5th birthday party!
Thank you to everyone who joined us to celebrate!

xo.