Showing posts with label baking. Show all posts

Friday, May 8, 2015

Loaded Banana Bread

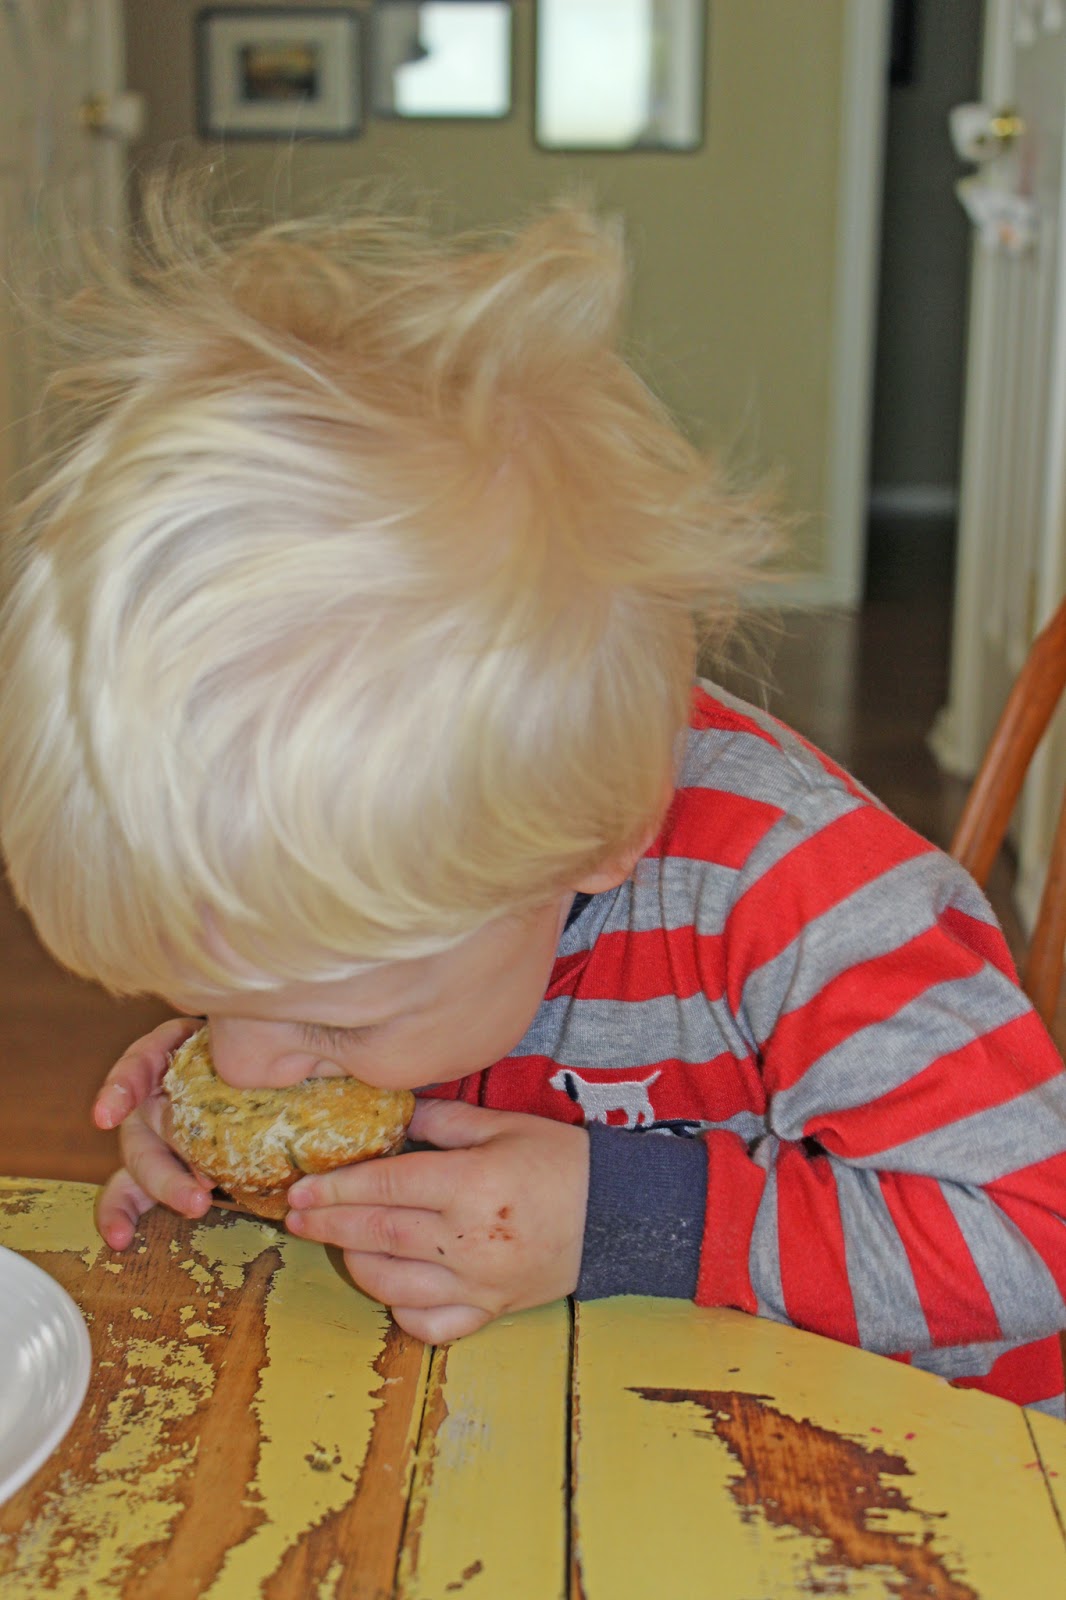
My dear, sweet Benny (2 years old) is really into bananas.  
His love of bananas runs deep.Yet, the depth of said love lasts only 
about 3 bites per banana and then he refuses to touch the half eaten 
banana again. And we must start over with another whole banana. 
Lordy. 
I, being the practical 'thou shall not waste a perfectly
 good half of banana' mama that I am, 
started storing the remaining bananas in a container in the 
refrigerator and decided it was high time I create a go to banana recipe. 
So Benny, keep up the good work, I could eat this goodness all year long!

This recipe will yield 2 large loaf pans of outrageous 
quick bread or ~32 large scoop muffins. 

What you need:
1 cup of butter (soft)
4 eggs
2/3 cup sour cream
1 cup granulated sugar
2/3 cup brown sugar 
1 tsp pure vanilla extract
With an electric hand mixer (or stand mixer) blend the above ingredients
4 cups all-purpose flour
1 tsp fine sea salt
2 tsp baking soda 
Place dry ingredients in a sifter
5 ripe bananas (peel and mush finely with a fork) yields ~2 cups
1 cup finely chopped raw pecans
1 cup semi-sweet chocolate chips
2/3 cup shredded, unsweetened coconut (+ additional 1 cup for topping)

 Sift the dry ingredients into the wet ingredients in three heats.  
That way the wet dry integrates very well.  I always hand
mix at this point, as to not over mix.

Fold in the banana

 Fold in the pecans, coconut and chocolate chips

Use a large scoop if you are going the muffin route, otherwise 
coconut oil two large loaf pans.

For muffins I am borderline obsessed with parchment muffin
liners.  They do not stick to the muffins, like the fluted cups
sometimes do and they look so dang cute, which is obvy 
important!  I buy them in big bunches on the internet.

here's a little picture from an old post.  After coating
the pan with coconut oil, cut a piece of parchment paper
for each pan, allowing a bit higher up the sides, so after
baking you can run a knife along the two shorts sides
of the pan, then use the parchment like handles to lift the 
bread out, and transfer it to a cooling rack.  

Top with a good sprinkle of coconut 

Bake at 325 degrees for 30 minutes if baking muffins and I would
guess at least one hour to one hour and 15 minutes for 
the loaf pans.  Make sure you do the toothpick check!!

Although them to cool a bit and then get your gobble on!!

 Benny Approved!!

Enjoy!
xo

Sunday, April 26, 2015

Crunchy Cornflake Cookies

I ate a  cornflake cookie at a cafe when we lived in Oklahoma and it was 
love at first bite!  I threw this recipe together almost 5 years ago, 
and the taste is deliciously spot on! These cookies are loaded with some 
of the best pantry goodies imaginable, so of course they are certain to be a hit!


 What you need:
 1 cup Butter, soft
1/2 cup + 2T Oil
1 cup Granulated Sugar
1 cup Brown Sugar
2 Eggs
2 cups Cornflakes
1 cup Quick Oats
1 cup Raw Pecans
1/2 cup Shredded Coconut (unsweetened)
3 1/2 cups AP Flour
1 T Baking Soda
3/4 tsp Salt
2 tsp Pure Vanilla Extract
1/4 tsp Cinnamon

Preheat oven to 325 degrees

Place the oats, coconut and pecans in a food processor fitted with the
sharp blade. Pulse until consistency of large crumbs.

I feel certain we over pulsed the three ingredients as I had eager helpers
in the kitchen, after their soccer game. Wouldn't have it any other way!

Next, pulse in the cornflakes until bits of cornflakes appear throughout.
Then set the food processor aside

In the green bowl are the wet ingredients whipped together: butter, oil,
eggs, granulated sugar, brown sugar and pure vanilla extract. I use an 
electric hand mixer to blend the wet ingredients.

In the sifter, awaiting a sift, are the dry ingredients: AP flour, 
salt, baking soda and cinnamon.

Slowly sift and hand mix the dry ingredients into the wet ingredients. 

Then fold in cornflake crumble goodness.

 Use a small scoop (this is ~2 T scoop, but you could do as small as 1 T)
Line 12 on a parchment lined baking sheet and press the dough 
balls flat with clean finger.  

Bake for ~13 minutes in a 325 degree oven.

Remove the cookies from the oven, then edges should be a tad 
darker in color than the centers.  Allow the cookies to cool for 
a minute on the baking sheet, then transfer to a wire rack 
for complete cool.

Enjoy. 
xo

Thursday, August 7, 2014

Birthday Party Prep, in the kitchen


 Sweet Logan turned 5 yesterday.  I will post all the pics of her wonderful birthday celebration, but for now here are the goodies I whipped up for her party!  

 You can't spell P-A-R-T-Y without cookies, or something 
like that...am I right?  Semi-sweet chocolate chip cookies,
dusted with sea salt are ALWAYS on the menu!

Dark chocolate cupcakes (along with vanilla cupcakes that
didn't get their time to shine in front on the camera during prep)
alwaty please the crowds!
 
 It is a must for cupcakes, layered cakes, spoons and fingers!
Make this recipe, it is quick and easy and oh so tasty!

 Copious amounts of rice krispy treats!  I didn't make 
homemade marshmallows for these bad boys, as I have
in the past.  But the secret to stepping up your game with
a krispy bar made with a bag of marshmallows: a bit of sea salt!

 Peanut butter and homemade jam (via the MIL) is 
turned into party food, by removing crust, with a round 
biscuit cutter and dipping the cut edges into
tiny sprinkles!  So cute and festive!

It's a 5 year old birthday party, but I always plan
for the parents who are showing up as well. 
Beer and handmade wraps were on hand for them.
Store bought tortillas filled with havarti, oven roasted
turkey slices, candied bacon* and sun-dried tomato 
mayonnaise** were perfection!

*to candy bacon, line a rimmed baking sheet with foil and parchment (no stick, yay)
place bacon on the prepared baking sheet and generously sprinkle with brown
sugar and cracked black pepper.  Bake until crispy (directions on bacon package). 
Do not drain on paper towels as the sugars will just stick to the paper!  I place the cooked
candied baon on a cooling rack and allow to drip a bit (playing baking sheet under the 
rack to catch drips).  once cool, store in an air tight container in the refrigerator.  
Can be made a few days in advance.


**to make sun-dried tomato mayonnaise, grab your food processor and whip 2 small jars
of drained sun-dried tomatoes, 1/2 cup cream cheese (soft) and 1 cup real mayonnaise.
Store air tight in the refrigerator, can be made a week in advance.


PARTY PICS SOON !!!
(but, let's be real...what does 'soon' mean to me?  still haven't finished
Sundance Film Festival 2014 pics...opps!)
 

Saturday, June 28, 2014

Italian Cream Cupcakes, on the QUICK!


I was in a pinch for a dessert and thought I would give a go at making Italian Cream Cupcakes, 
starting with a box of cake mix.  The results were fantastic (and oh so quick), so give this a whirl!


What you need:
box of white cake mix (that will yield a 9x13 pan)
1/2 cup soft butter
1 cup buttermilk
3 eggs
2 T water
2/3 cup shredded coconut
1 cup raw pecans 

Click here for my delish frosting recipe, that must top
these cupcakes. Reserve 1/2 cup of the chopped
pecans to fold into the frosting.

Use a sharp knife to roughly chop the pecans.  If you don't feel like
getting your chop on, pulse the pecans in a food processor.

By hand or mixer, blend the cake mix, buttermilk, butter, water and eggs.
Then fold in the coconut and 1/2 cup chopped pecans.

I use a large scoop to plop the batter into muffin papers (I looove
the organic look of these parchment papers I picked up at King Soopers) 

Bake in a 350 degree, preheated oven.  17-21 minutes bake time.

While they bake, make the frosting!!!  Here is the link again. 
Stir in the 1/2 cup of chopped pecans you reserved.

After the cupcakes cool (I always set on a cooling rack for at least
half hour), top with as much frosting as you wish.

Then, ENJOY!!!  

xo.


Thursday, March 6, 2014

Toffee Pretzel Crunch. Oh My!


I was making care packages this week to send off and deliver locally
as several friends needing the TLC of homemade treats.

I was thinking how tasty it would be to dip pretzel rods in toffee, but
then at a little Oprah light bulb moment and decided on this...
you can thank me later.

What you need to make this ridiculous treat:
3 1/2-4 cups Pretzel Crisps
2 sticks unsalted butter
1 cup packed brown sugar
1/4 tsp sea salt
1 1/2 cups semi sweet chocolate chips

Line a large jelly roll pan* with aluminum foil, and then thinly coat the foil
with butter (I just gently rub one of the sticks used in the recipe along the 
foiled surfaces. You will not use much) then place a layer of Pretzel Crisps 
along the bottom of the buttered pan.  I break up some of the crisps. Don't 
worry if the crisps are overlapping. 

* a jelly roll pan is smaller than a sheet pan, but larger than a 9x13 pan.

 In a saucepan over medium/high heat, begin melting the butter, brown sugar and salt.

 This is one pot you want to watch boil.  Continue stirring as the sauce boils 
and thickens.  Watch that it doesn't burn.  I stir at boil for a couple minutes.

Pour the boiling sauce evenly over the pretzel crisps.  
Place pan in a 425 degree oven.

The sauce will thicken in the oven. After 4 minutes I pulled the bubbling concoction 
out of the oven.  Check at 4 minutes. If it isn't super bubbly and darker in color, 
put it back in for 1 additional minute.

 Immediately sprinkle the semi sweet chocolate chips evenly 
over the toffee pretzels. 

The heat of the pan will quickly melt the chocolate chips.  If you
find that they aren't melting, pop the pan back into the cooling oven for 
1 minute and the chocolate will be ready to spread with a knife.

After the chocolate chips are evenly spread across the top of the toffee,
pop the pan in the freezer to set up for 30 minutes.

 After setting in the freezer, I pull the brick of toffee from the foil,
double checking that all foil pulled away, then use my hands to 
break into chunks.  I store in the refrigerator in a sealed container.

It packages up nicely, in boxes, to drop with friends and neighbors.
I buy bulk food safe boxes on the Internet.

Enjoy!!!

Tuesday, February 11, 2014

Brown Butter Marshmallow Crispy Treats


I signed up to bring a 'treat' for Logi's preK Valentine's 
party tomorrow. I was thinking it would be fun to put a treat 
on a stick, and quickly decided I would make marshmallow 
crispy bars, and poke them with the barbershop pole paper 
straws I bought after Christmas sales. Then, as I was about to grab 
several bags of marshmallows off the  market shelf, I decided that 
I would try making these treats with my tried and true  
homemade marshmallow recipe. With a few tweaks to said recipe 
these treats turned out better than I imagined, and I am certain to 
never buy a bag of  marshmallows ever again!


What you need to yield a 9x13 pan:
3 packages unflavored gelatin
1 & 1/2 cups granulated sugar
1 cup light corn syrup
1 stick of unsalted butter
 1/2 tsp sea salt
10 cups crispy rice cereal
2 tsp pure vanilla extract
1/2 tsp pure almond extract*
 Confectioner's sugar, for dusting the 9x13 pan
Paper straws (optional)

*the almond was a last minute idea, and it really works
well with the nuttiness of the brown butter.  
The almond extract is optional.

Combine the unflavored gelatin packets with 1/2 cup
ice cold water in the bowl of an electric stand mixer,
fitted with the whisk attachment.  Pulse the whisk quickly,
to combine the gelatin and water, then let sit and 'bloom' 
while you continue the next step.

 In a saucepan combine the sugar, corn syrup, salt and 1/2 cup of 
water.  Cook over medium/high heat, stirring until the sugar dissolves,
then just allow the syrup to continue boiling without stirring.

At this time, place the 10 cups of crispy rice cereal in a large mixing bowl, 
set aside.

 Continue the boil until you reach a temp of 240 on a candy thermometer.
The temp will sit at 220-225 for what feels like forever, so just be patient.

 So thankful I am able to grab this image from my previous
marshmallow post, as I totally forgot to snap this today!  Phew.  
I carefully pour the 240 degree syrup over the bloomed gelatin and 
begin whipping.  I whip on low for a minute, to the everything mixed up, 
then I switch the speed to high and set a timer for 10 minutes.

While the gelatin and syrup whip, slowly melt a stick of butter over
medium heat.  

At this time butter and shake the 9x13 pan with confectioner's
sugar.  Coating the bottom and all 4 sides with butter and the sugar.
Set the pan aside.


After the melted butter bubbles for a bit, the edges will start to darken.
Watch it closely, and pull the pan from the heat when the butter turns dark golden.
 
When removed from the heat I stirred the in the 
vanilla and almond extract into the brown butter. 

After the syrup and gelatin has whipped for 10 minutes and looks
beautifully white and fluffy, stop the mixer, and pour in the brown butter 
(with the vanilla and almond).  Then whip on low, increasing speed to medium, 
until the butter is incorporated and the marshmallow is smooth and fluffy.

I just pour the brown butter, I do not scrape the bits off the pan.
 
 Pour the marshmallow over the crispy rice cereal (I use a bowl scraper
to get all the marshmallow out of the mixer) and start combining, really 
pulling the cereal up from the bottom of the bowl with each stir.  

Place the marshmallow crispy mix into the prepared pan (I doubled
the recipe) then rub a little butter on your hands and press firmly into the 
pan.  Set the pressed pan aside for an hour.

After an hour I flipped the pan onto a cutting surface.  I used a sharp serrated 
knife to cut desired size squares (cutting off the irregular edges). 

Yum!


I decided the kids would love these treats 'on a stick'.

Of course you can do this same thing with store bought marshmallows, but the fluffy 
fresh marshmallow combined with the brown butter is simply outrageous!